Créer ses propres outils spirituels est une expérience profondément enrichissante, qui vous connecte plus profondément à votre pratique et à vos intentions. Si vous avez déjà été attiré par la beauté et l'énergie des perles de mala, vous vous demandez peut-être comment en fabriquer vous-même. Ce n'est pas un simple projet artisanal ; c'est une méditation en mouvement, une occasion d'imprégner chaque nœud et chaque perle de votre énergie personnelle et de vos prières. Ce guide vous guidera tout au long du processus, du choix des matériaux au nœud final, vous permettant de créer un collier sacré qui vous ressemble.
Que vous soyez un artisan expérimenté ou un débutant curieux, vous découvrirez la joie et la pleine conscience inhérentes à la création de votre propre mala. Nous vous expliquerons tout ce qu'il faut savoir pour créer un outil magnifique, durable et spirituellement précieux pour votre cheminement vers la méditation et la pleine conscience.
L'art spirituel de la fabrication de malas
Un mala, ou Japa mala, est un collier de 108 perles utilisé pour la méditation et la prière. Bien que l'on puisse acheter de magnifiques malas, le fait de les fabriquer soi-même transforme l'objet en un puissant talisman. Chaque nœud peut représenter un mantra, une prière ou une intention que vous souhaitez cultiver. Ce processus conscient fait de la pièce finie non seulement un collier, mais une représentation concrète de votre cheminement spirituel et de votre développement personnel. C'est un acte de dévotion, de patience et de créativité, tout cela réuni.
Rassembler vos fournitures pour la fabrication de malas
Avant de commencer, vous devrez rassembler quelques matériaux essentiels. Vos choix s'inscrivent dans le processus créatif et vous permettent de personnaliser l'apparence, la texture et l'énergie de votre mala. Voici ce dont vous aurez besoin :

- 108 perles : Traditionnellement, ce sont des perles de 6 ou 8 mm. Vous pouvez choisir des pierres précieuses, du bois ou des graines en fonction de leurs propriétés énergétiques ou simplement de ce qui vous inspire.
- Perle du Guru : C'est la 109e perle, plus grande ou distincte des autres. Elle symbolise la fin et le début du cycle méditatif.
- Pompon ou breloque : Le pompon représente la conscience et l'unité. Vous pouvez le fabriquer vous-même ou en acheter un. Vous pouvez également utiliser une breloque.
- Cordon ou ficelle : Un cordon solide et durable est essentiel. La soie ou le nylon sont des choix courants. Assurez-vous qu'il soit suffisamment fin pour passer deux fois à travers vos perles.
- Outil de nouage (facultatif) : des outils comme une pince à épiler ou un poinçon à perles peuvent faciliter le serrage des nœuds contre les perles.
- Ciseaux et colle : des ciseaux pointus pour une coupe nette et une petite touche de colle transparente pour fixer le nœud final.
Créer un espace sacré pour la création
L'environnement dans lequel vous créez votre mala peut influencer son énergie. Avant de commencer, trouvez un endroit calme et confortable où vous ne serez pas dérangé. Vous pouvez agrémenter l'atmosphère en allumant une bougie, en brûlant de l'encens ou en écoutant une musique apaisante. Définir une intention est essentiel. Réfléchissez à ce que vous souhaitez que ce mala représente : la paix, la guérison, la clarté ou l'amour. Garder cette intention à l'esprit pendant votre travail donnera un sens à votre création. Placer des objets significatifs à proximité peut également vous aider à maintenir un état d'esprit concentré et serein pendant votre pratique.
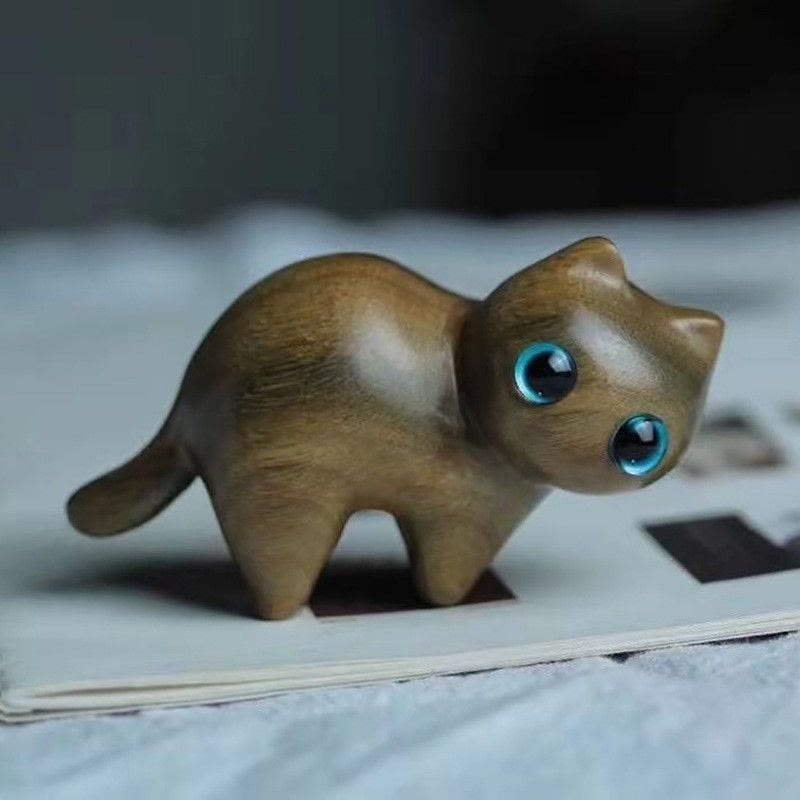
Mini statue de chat en bois de santal vert pour décoration de bureau
$24.90 $35.90
Imprégnez votre espace de fabrication de mala d'une énergie apaisante et de concentration en utilisant ce charme de chat en bois de santal sculpté à la main.
Explorer le produitComment fabriquer des perles de mala : un guide étape par étape
Maintenant que vous avez votre matériel et votre espace, vous êtes prêt à commencer le processus de pleine conscience pour créer un collier mala . Prenez votre temps à chaque étape, en vous concentrant sur votre respiration et votre intention. N'oubliez pas qu'il s'agit d'une méditation en soi.
Étape 1 : Préparez votre cordon et votre pompon
Commencez par couper votre cordon. En règle générale, prévoyez environ 1,80 à 2,10 m, ce qui devrait vous donner une longueur suffisante pour travailler. Enfilez le cordon dans la boucle de votre pompon, trouvez son centre et faites un simple nœud plat pour le fixer, en laissant deux longueurs de fil égales. Vous enfilerez les perles sur ces deux brins, maintenus ensemble.
Étape 2 : Enfiler la première perle et faire le premier nœud
Prenez les deux brins de votre cordon et enfilez-les dans votre première perle. Faites glisser la perle jusqu'au fond du nœud qui maintient votre pompon. Ensuite, formez un nœud plat après cette première perle. Utilisez vos doigts ou un outil à nouage pour appuyer sur le nœud afin qu'il soit bien en place contre la perle. C'est la technique de base pour la fabrication des perles de mala ; ce nœud sépare chaque perle, facilitant ainsi l'utilisation du mala pendant la méditation Japa et protégeant les perles des frottements.

Étape 3 : Continuer à enfiler et à nouer
Répétez le processus : enfilez une perle, puis faites un nœud plat. Glissez le nœud contre la perle avant d'ajouter la suivante. Au fil du temps, vous trouverez peut-être un rythme. C'est dans ce geste répétitif et conscient que la magie opère. Vous pouvez réciter un mantra à chaque nœud ou simplement vous concentrer sur votre intention. Continuez ainsi jusqu'à ce que les 108 perles soient enfilées et nouées. Cet artisanat méditatif est reconnu pour ses bienfaits thérapeutiques , favorisant la relaxation et la pleine conscience.
Étape 4 : Ajout de la perle Guru
Une fois les 108 perles sur votre cordon, il est temps d'ajouter la perle Guru. Prenez les deux brins du cordon et enfilez-les dans la perle Guru. Cette perle ne doit pas être nouée après. Elle doit reposer confortablement contre la dernière perle nouée du cordon principal. La perle Guru représente la relation élève-enseignant et est un moment de pause et de remerciement.

Étape 5 : Finition et fixation de votre Mala
Pour terminer votre mala, reliez les extrémités. Repassez les deux cordons dans la boucle du pompon, du côté opposé à celui où vous avez commencé. Tirez fermement sur les cordons pour rapprocher la perle Guru du pompon. Faites un dernier nœud simple double ou triple avec les deux extrémités du cordon. Pour plus de sécurité, vous pouvez ajouter une petite touche de super glue transparente ou de ciment pour bijoux au nœud final. Une fois sec, coupez l'excédent de cordon au niveau du nœud. Votre mala est terminé !
[curseur de collection]
Personnaliser et bénir votre nouveau Mala
Votre mala fait main est un objet sacré, et le bénir renforce sa fonction. Il existe de nombreuses façons de le faire. Vous pouvez le purifier avec de la sauge ou du palo santo pour purifier son énergie. Vous pouvez également le placer à la lumière d'une pleine lune pendant la nuit ou utiliser le son pour le consacrer. Jouer d'un bol chantant ou d'un instrument doux comme un kalimba sur le mala peut l'imprégner de vibrations résonnantes et curatives. Tenez votre mala dans vos mains, fermez les yeux et exprimez votre intention une dernière fois. Ce simple rituel consacre formellement votre mala à votre pratique spirituelle. Les bienfaits de ces pratiques méditatives sont largement reconnus pour favoriser le bien-être mental et émotionnel .
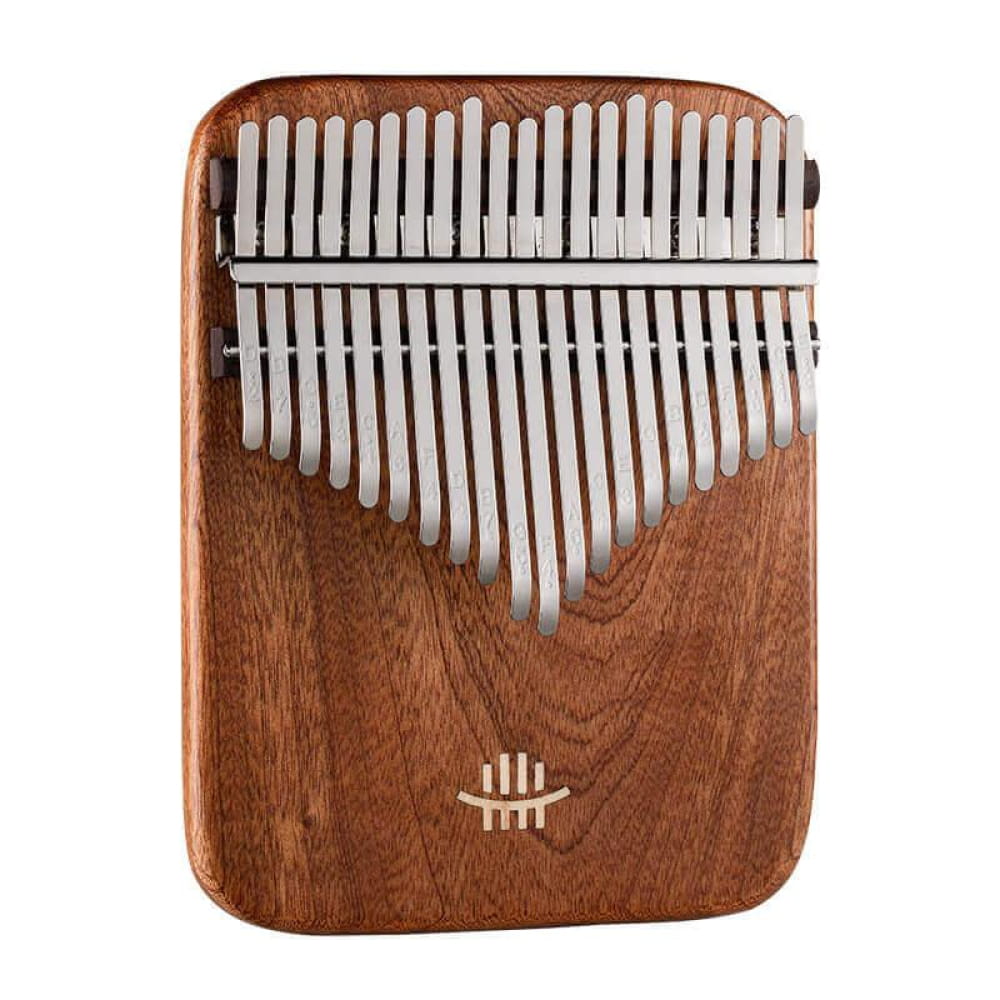
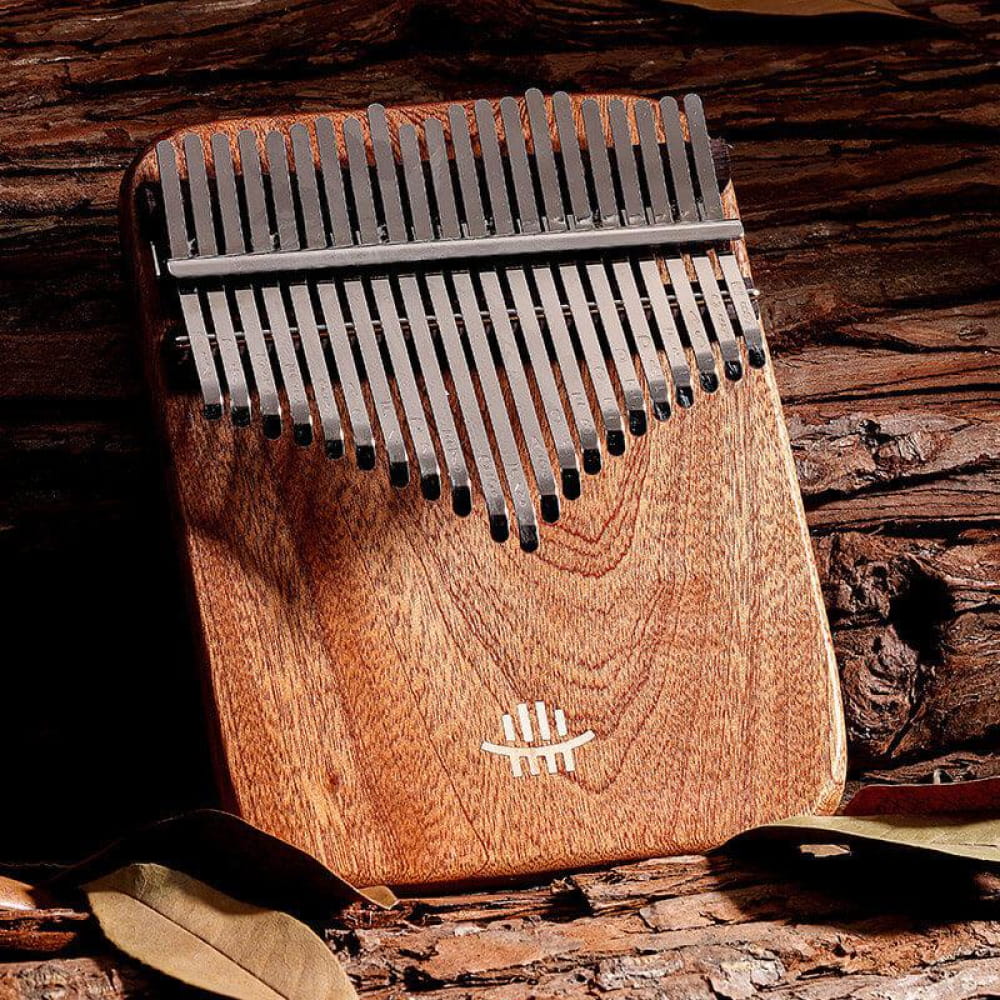
Améliorez votre rituel de fabrication de mala
$89.90
$129.90
Apportez un son doux et une ambiance sacrée à votre pratique du mala DIY avec les tons apaisants d'un kalimba en bois de santal. En savoir plus ➔
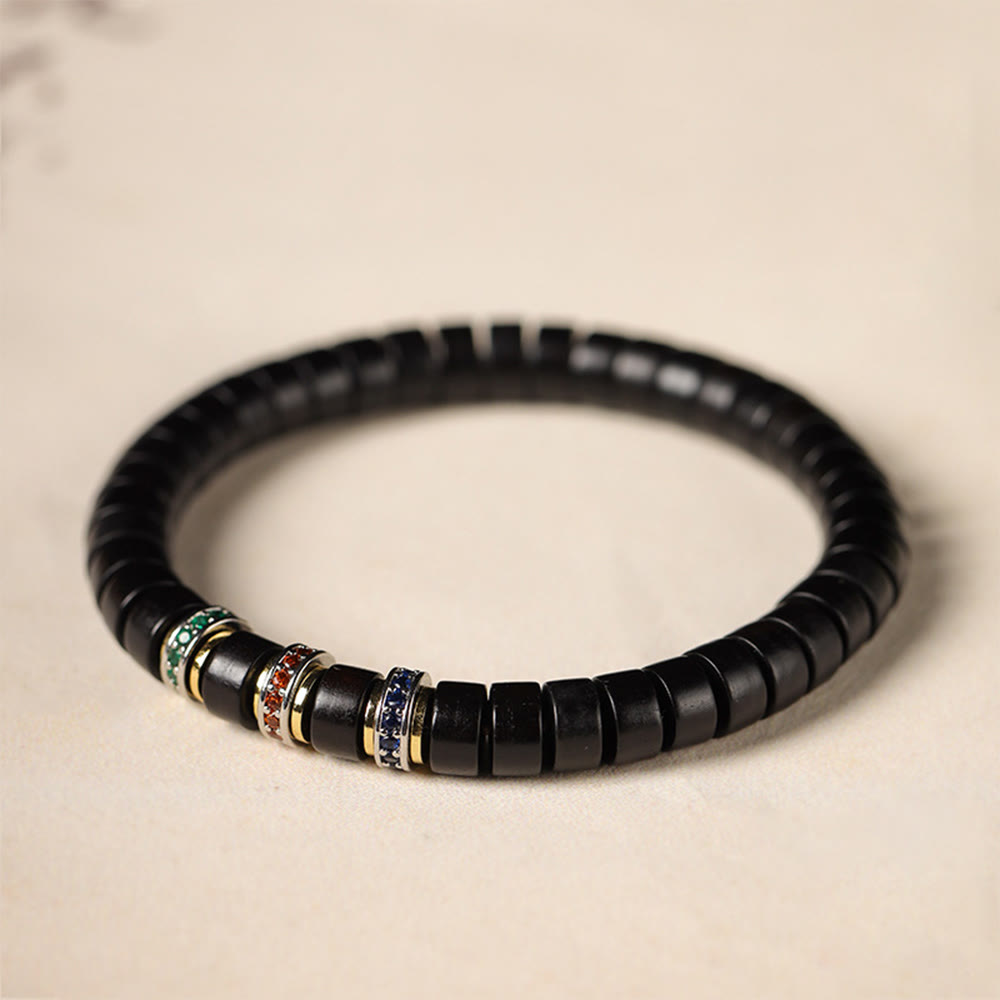
$28.90
$41.90
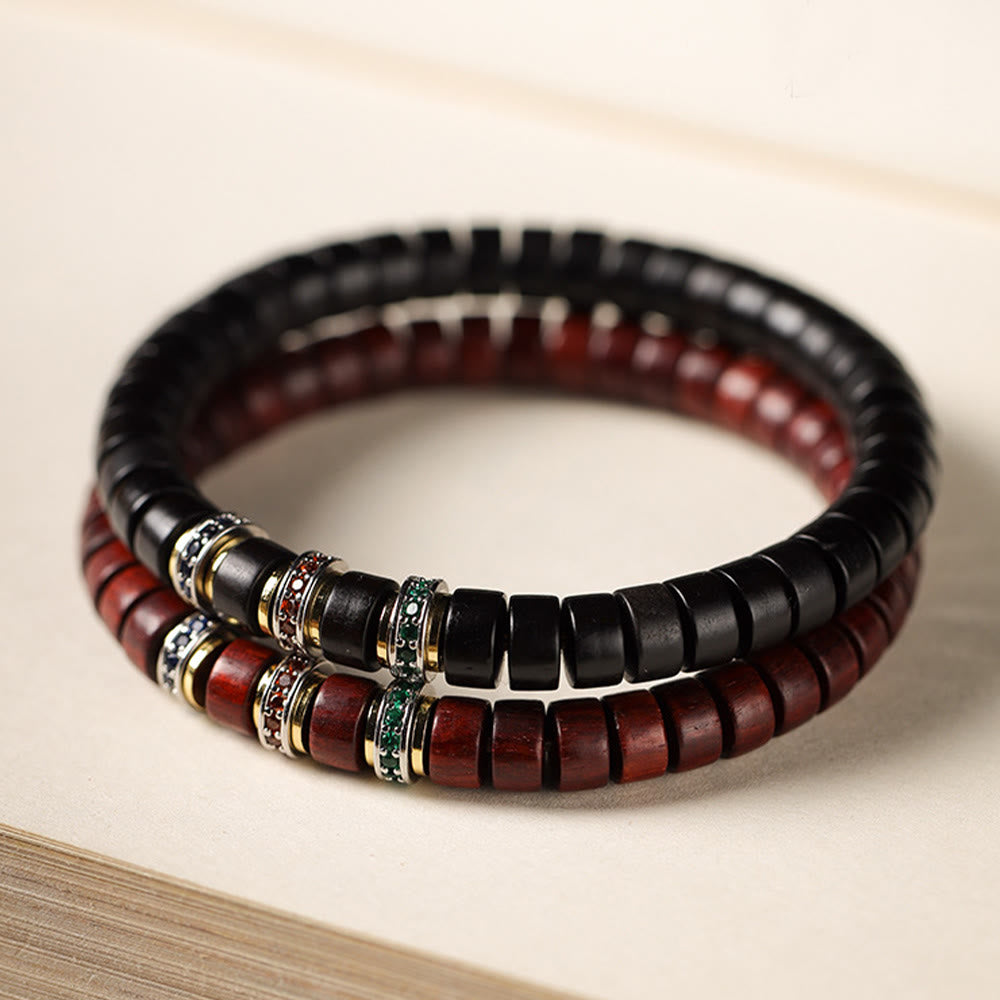
Inspirez votre rituel créatif avec ce bracelet en ébène et bois de santal, parfait à porter ou à offrir avec des malas faits maison. En savoir plus ➔
Conclusion
Félicitations, vous savez maintenant fabriquer vos propres perles de mala ! Vous avez appris bien plus qu'un simple art : vous avez appris une pratique de pleine conscience, de patience et de détermination d'intentions. Votre mala fait main témoigne de votre créativité et est un compagnon précieux pour votre pratique de la méditation. Puisse-t-il vous apporter paix, concentration et une connexion plus profonde avec vous-même à chaque utilisation. Chérissez ce magnifique outil que vous avez créé.
Questions fréquemment posées sur la fabrication de perles de mala
Pour fabriquer des perles de mala, vous aurez besoin de 108 perles principales (généralement de 6 ou 8 mm), d'une perle Guru plus grosse, d'un pompon ou d'une breloque, d'un cordon solide (en soie ou en nylon), de ciseaux pointus et, éventuellement, d'un peu de colle transparente pour fixer le nœud final. Un outil de nouage comme une pince à épiler peut également être très utile.
Les perles du mala sont fabriquées en enfilant 108 perles sur un cordon résistant, avec un nœud simple entre chaque perle . Ce processus est répété successivement jusqu'à ce que les 108 perles soient nouées. Une 109e perle, la perle Guru, est ensuite ajoutée aux extrémités, et le mala est finalisé par la fixation d'un pompon et le nœud final.
Absolument ! Fabriquer son propre japamala (mala) est une pratique fortement recommandée. Cela vous permet d'imprégner les perles de vos intentions et de votre énergie personnelles dès le début, créant ainsi un outil spirituel puissant et significatif, intimement lié à vous et à votre pratique.
Un fil solide et durable est essentiel pour confectionner un mala durable. Parmi les choix les plus courants, on trouve le fil de nylon, le fil de soie ou le fil Griffin . Il est important de choisir une corde d'une épaisseur permettant de passer deux fois dans les trous des perles (pour fixer le pompon et la perle Guru) et suffisamment solide pour supporter la tension du nouage et une utilisation régulière.
Le nœud le plus courant pour la fabrication de malas est le nœud plat . Après avoir enfilé une perle, on forme une boucle simple avec le cordon et on y passe l'extrémité. L'astuce consiste à utiliser les doigts, une pince à épiler ou un poinçon pour faire glisser le nœud le long du cordon afin qu'il soit bien en appui contre la perle avant de le serrer complètement.